Today I want to explain to you how you can protect yourself on the Internet so that you can discuss, chat or talk about your sexual orientation on the Internet without being bothered
Personal Safety Notice!!!!! These tutorials are NOT intended to enable you to commit illegalcrimes on the Internet, but to protect you from violent criminals who, like Everywhere, unfortunately still want to bully you, visit you or inflict violence on you because of your sexual orientation.
Step 1:
Download the installation file suitable for your operating system from the official VeraCrypt website VeraCrypt Download and run it. The installation is done with a few clicks and in most cases you can keep the preselected settings in the installer.
Step 2:
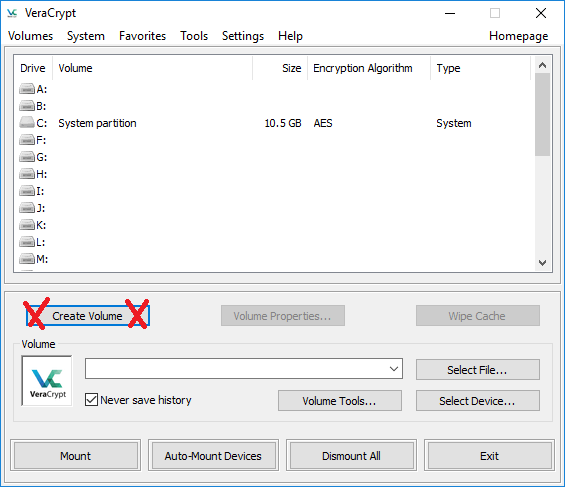
Then Start VeraCrypt
Step 3: Click on "Create Volume"
Step 4:


Select "Encrypt the System Partition" and click on "Next >"
Step 5:
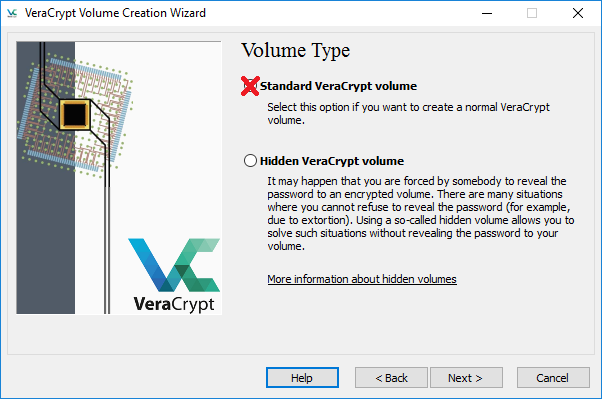
If you don't Live in America* Select "Standard VeraCrypt volume" and click on "Next >".
*in America there are laws that can force you to reveal your password or you will be taken into custody for an indefinite period of time, don't worry this does not exist in Germany, here "in dubio pro reo" applies, i.e. "in case of doubt for the accused"
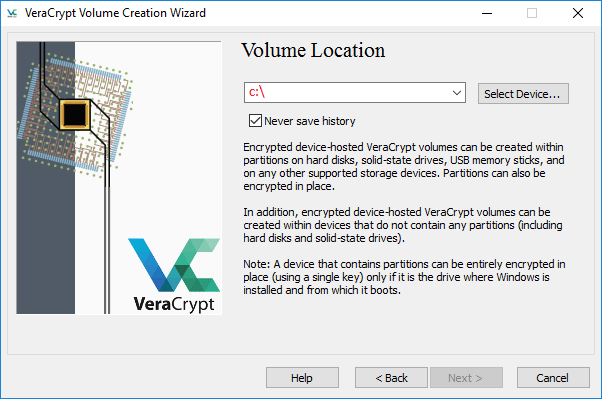
Step 6:


Click on "Select Device..." and Select Drive C:\
Step 7:
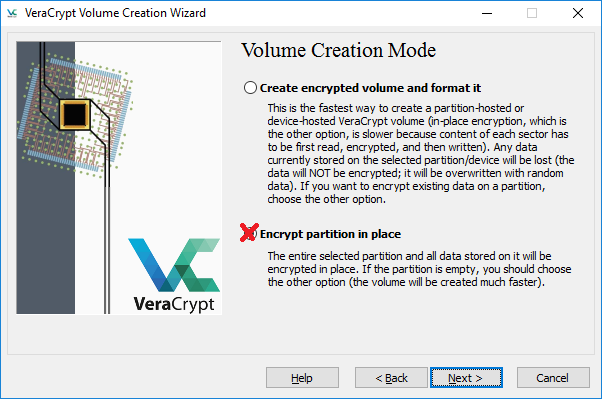
When you Use a Drive that has Active Data, pick "Encrypt partition in place" and click on "Next >".
Step 8:


There will be a Warning to Make a Backup Incase the System Crashes or loses power.
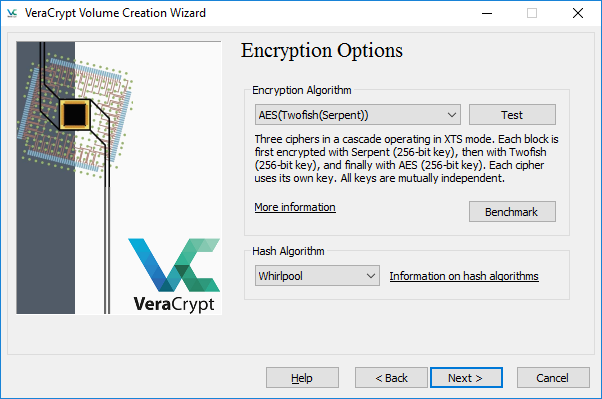
Step 9:


Now Select the Encryption Algrithm and the Hash Algorithm, generally all of them are Safe, but i usually pick AES.
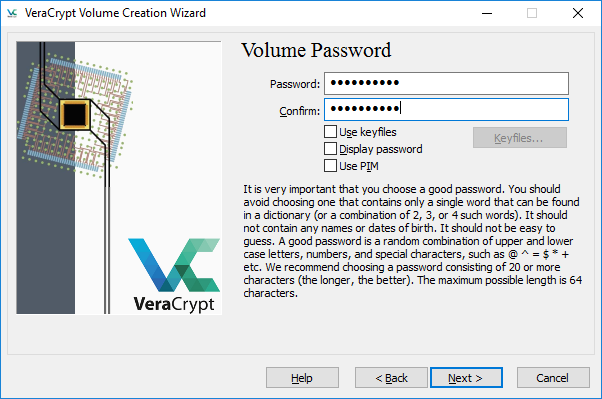
Step 10:


After this Pick a VERY SAFE Password , it should consist of 40+ letters, digits and special characters, then click "Next >".
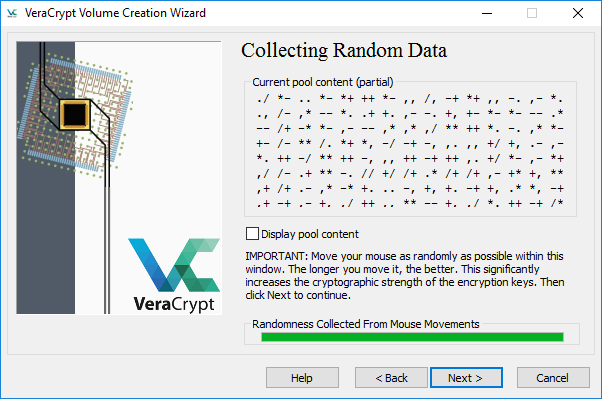
Step 11:


In the following window you will be asked to move your mouse as randomly as
possible over the window. This is important so that the encryption is as
unique as possible. It is recommended to do this for at least 30 seconds.
A bar at the bottom of the window will fill up over time. When it is full,
you get the highest level of security. Then click on "Next >"
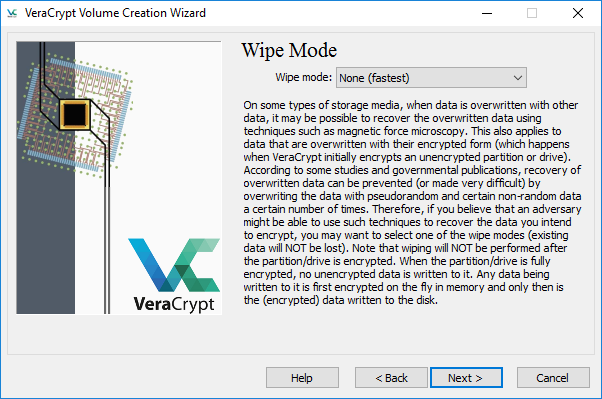
Step 12:


Click on "None (fastest)". This only Applies to the Deleted part of your Partition "Next >".
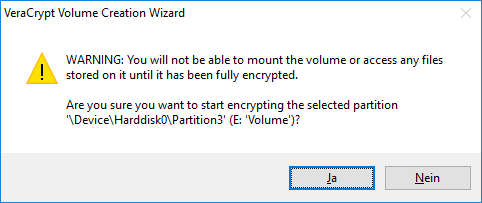
Step 13:


As soon as your are Finished, click on "Encrypt". This is where the Harddrive gets Encrypted. You will also be warned that you dont have Access to the Drive and its Content as long as the Encryption happens. Accept with "Yes".
The Next Step it asks you to Restart to Test the Password, from then it usually takes 2-6h and when it's done, you will be prompted to Restart and Input your Password.