🇺🇸 Tutorial – Whonix
Welcome to a new tutorial, today we will deal with the WHONIX operating system
Personal Safety Notice!!!!! These tutorials are NOT intended to enable you to commit illegal crimes on the Internet, but to protect you from violent criminals who,
like Everywhere, unfortunately still want to bully you,
visit you or inflict violence on you because of your sexual orientation.
What do you need for this?

- a computer (ideally a laptop) with 4-8 gigabytes of RAM, the more the better, AND it must have Hyper VTX Virtualization Technology


Installation:


The first thing you need is VirtualBox (https://www.virtualbox.org/)

The Second Whonix (https://www.whonix.org/#download)
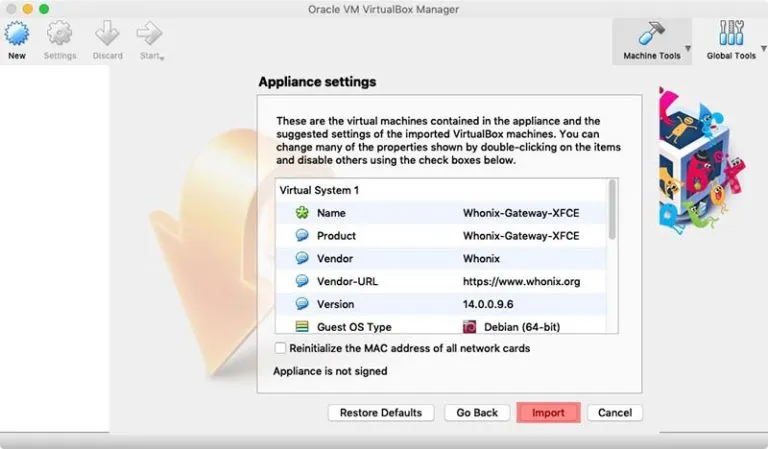
Install Virtualbox and Download and Import "Whonix with XFCE"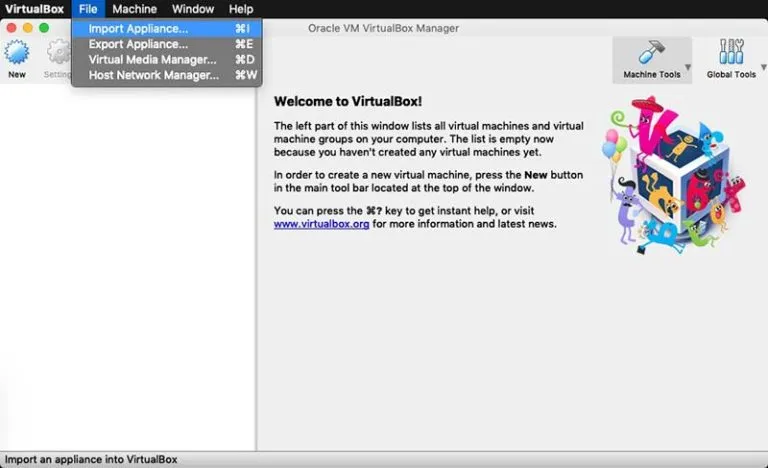
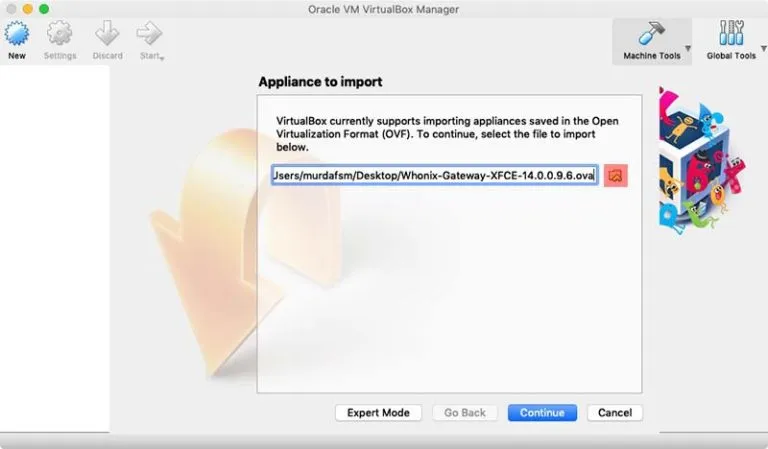
On this window we leave everything as it is now...
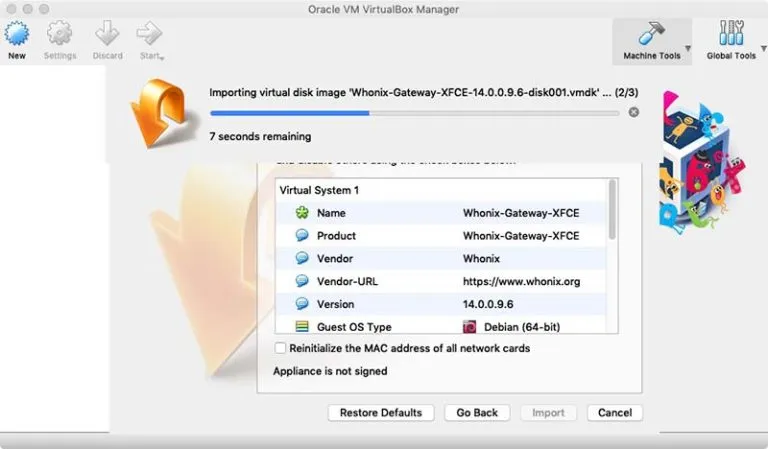
This is all taking a while...
Now we have 2 virtual machines which we both start one after the other

1) Gateway - which ensures that ONLY a connection can be established between the workstation (our workplace) and the Internet via the secured TOR network.

2) Workstation - Our workplace.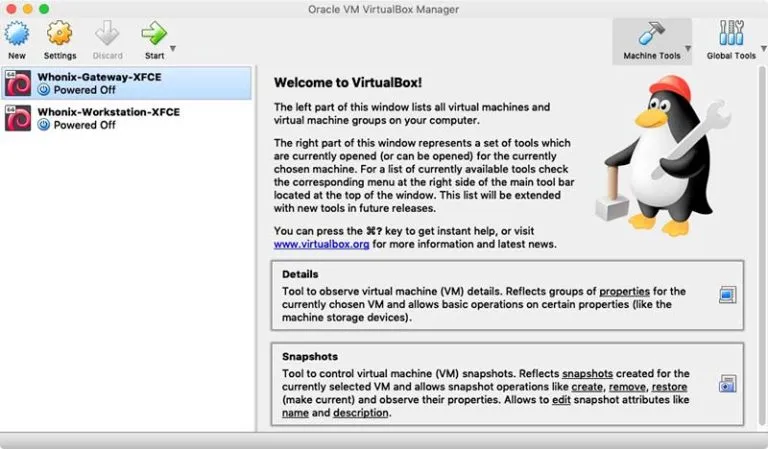
This is how it all looks like:
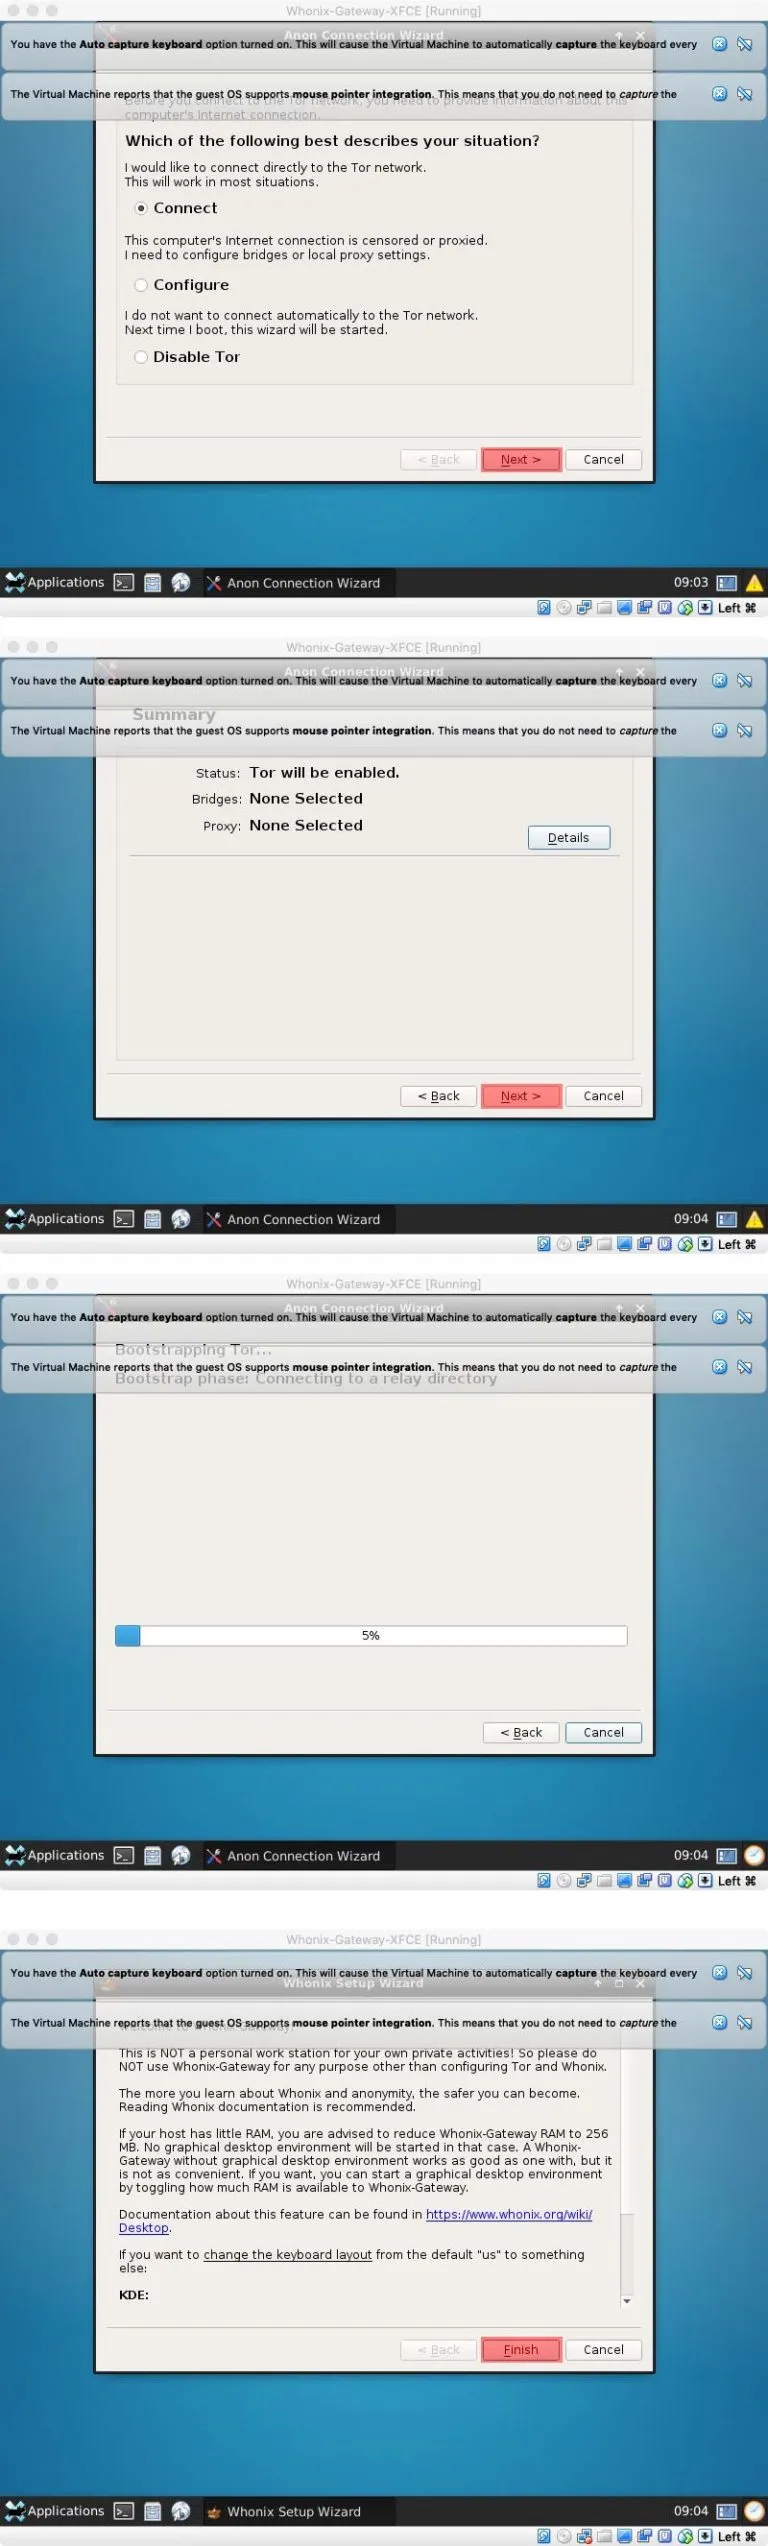
Now Whonix is ready to use, the most important safety instructions now:
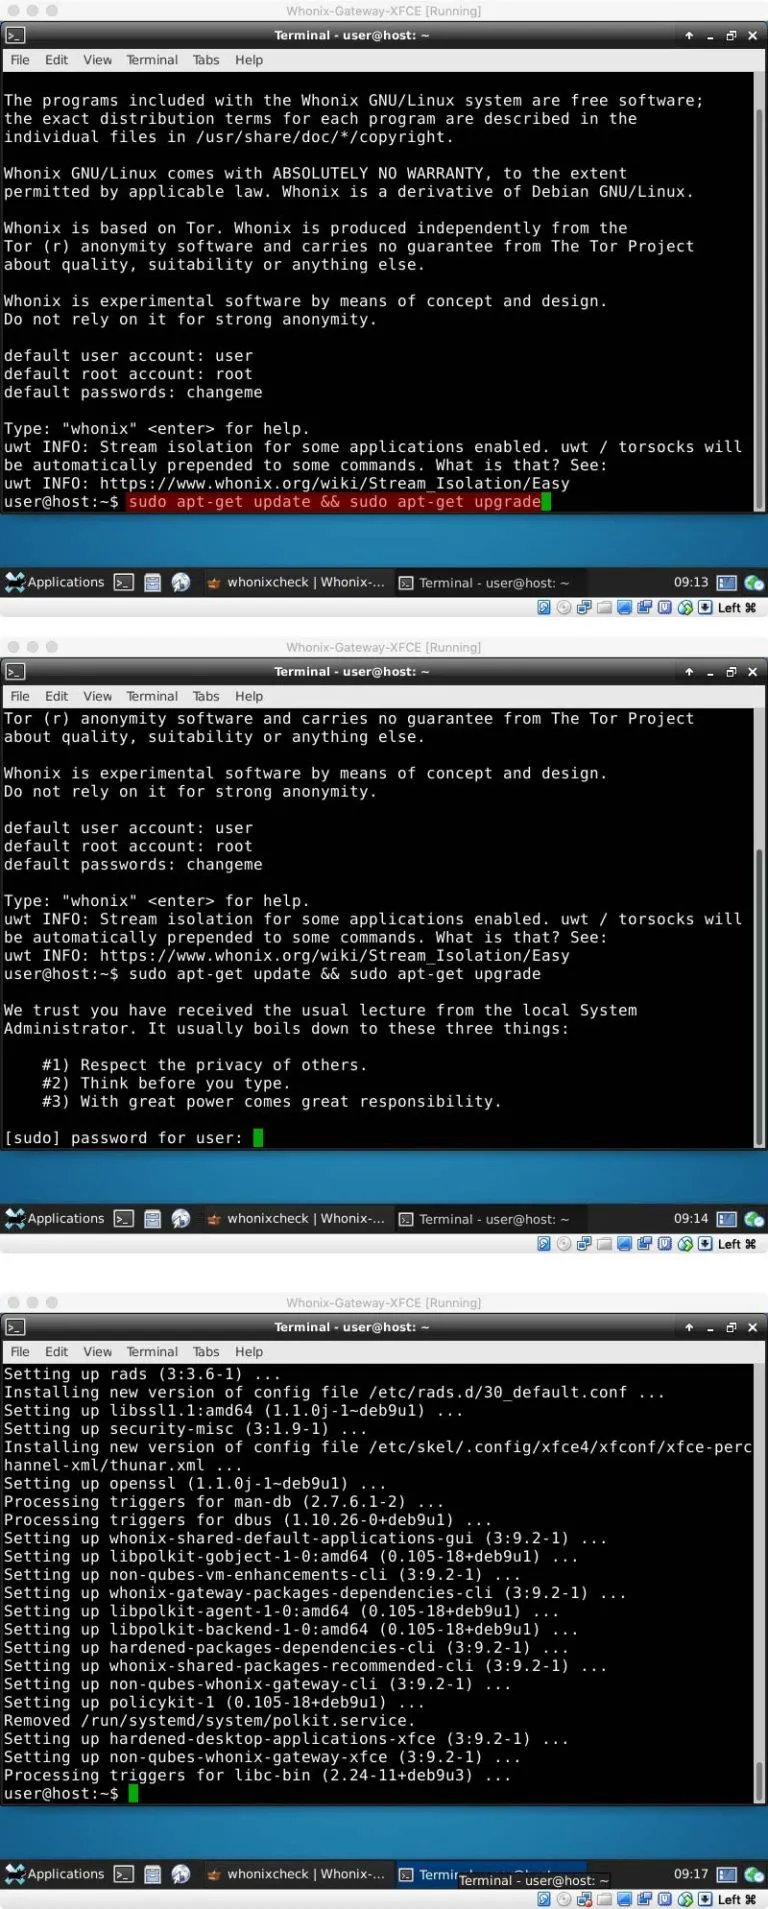
- preferably every day at the top left click on the 4th symbol (the terminal symbol) and enter the following
"Whonixcheck" so you can find out whether you are connected to Whonix or whether there are problems or upgrades, e.g. if there are updates you use
"upgrade-nonroot" or or "sudo apt-get update && sudo apt-get upgrade" to install updates
In addition, you should start the TOR browser and enter "about:config" in the address bar, click on accept and enter Javascript.enabled in the window there and change the setting to "False".


That's it, now you can safely surf the internet and converse with others without being tracked down by hateful people.